

What to Expect During Your First At-Home IV Drip Appointment
If you’re considering IV drip at home treatments for the first time, it’s natural to wonder what the process is like. Whether you're seeking IV therapy at home for hydration, energy, wellness, or illness, knowing what to expect ensures a smooth and safe experience.
At Revive Wellness and Recovery, we specialize in providing in-home infusion mobile IV therapy to help you feel your best, all within the comfort of your own home or space.
In this blog, we’ll walk you through the typical experience of your first at-home IV therapy session, covering everything from the initial consultation to the final steps.
Let's get started!
What is IV Vitamin Therapy?
IV therapy at home brings a straightforward solution to a common issue: efficient nutrient delivery at your convenience. Whether you're recovering from illness, need to rehydrate after exercise, or want a boost to your energy level, IV therapy ensures faster and more effective results. Instead of waiting for pills to work through your digestive system, nutrients are directly absorbed into your bloodstream.
The Initial Assessment
Once your at home IV therapy appointment is scheduled, your healthcare assessment will begin with a brief medical questionnaire to ensure suitability. This includes questions about your medical history, any medications you're taking, and your goals for the treatment. It helps the provider to understand your health needs and customize your IV drip to suit your individual requirements. When the provider arrives for the appointment, further discussion can happen to assure the best combination of vitamins and nutrients for you.
During this phase, you’ll also have the opportunity to discuss any specific concerns or expectations. Whether you're looking for IV drip therapy at home for hydration, energy, immune boosting, or general health rejuvenation, understanding your needs ensures a better experience.
What Happens During Your First At-Home IV Drip Appointment?
Now that you know the basics, let's walk through the steps of your first IV drip at home appointment, so you know exactly what to expect from start to finish.
Preparing the Space and Setting Up
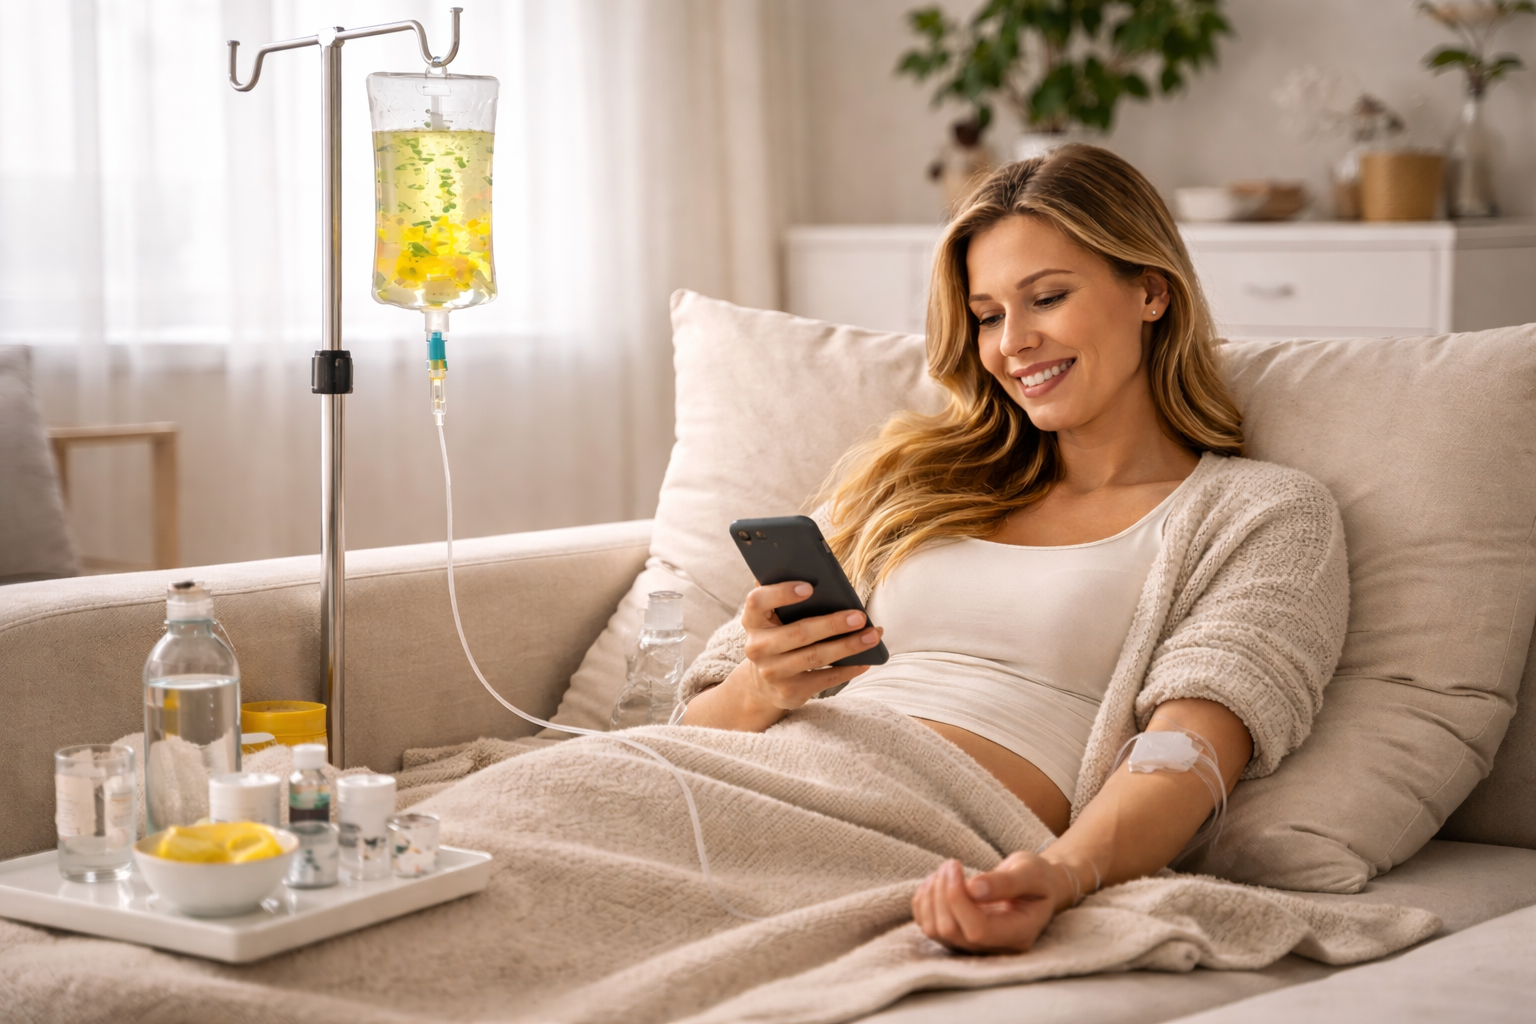
When the clinician arrives, they will set up a clean, comfortable space for you to relax during your IV hydration therapy at home. Typically, this takes place in a comfortable chair or couch. The clinician will make sure the area is sanitized, and they’ll bring all the necessary medical equipment: the IV bags, sterile needles, gloves, and cleaning supplies.
It’s important to wear something comfortable, like a short-sleeved shirt, as the IV will most likely be placed in your arm. Your healthcare provider will make sure everything is prepared to provide a smooth and safe experience.
Inserting the IV and Starting the Drip
The healthcare provider will clean the area where the IV will be inserted, usually on the inside of your elbow or the back of your hand. The IV catheter insertion typically feels like a quick pinch, and the IV catheter is placed into a vein. Once it’s in place, the needle is removed, and a sterile catheter remains, allowing the fluids to drip into your bloodstream.
This part of the process generally takes just a few minutes. Once the IV is in place, the fluid infusion begins, and you can sit back and relax. Whether you’re enjoying a beauty IV drip for glowing skin or a recovery treatment for energy, your clinician will be nearby, monitoring the drip and your comfort throughout the session.
What to Expect During the Infusion
The length of your IV therapy for any session will vary based on the type of treatment you’re receiving.
Length of Treatment
The duration of the session depends on the IV hydration therapy you’ve chosen, the size of the catheter inserted, as well as the level of your hydration. Simpler treatments, such as a liter of fluids with one ingredient, might be on the shorter side, while more comprehensive infusions, such as NAD+, can take a bit longer. Expect anywhere from 30 to 60 minutes.
Comfort Monitoring
Throughout the treatment, your healthcare provider will check in on your comfort level. They’ll monitor the IV site for any swelling or irritation, and if any discomfort occurs, they’ll adjust the IV to ensure you’re at ease. It’s important that you feel relaxed during this time.
Sensations During the Infusion
As the IV drip therapy at home begins, you may notice some mild sensations such as a cool or warm feeling as fluids are administered. These sensations are normal, and many people find them non-intrusive. In addition, some of the supplement additives, such as vitamin B-complex, can give you a sensation of ‘tasting” or “smelling” the infusion.
Immediate Effects After the Session
Once the infusion is completed, many clients report feeling more hydrated and energized right away. IV drips for skin or other treatments can leave you feeling refreshed, with some noticing an immediate improvement in their skin’s appearance.
Post-Treatment Care
After the IV catheter is removed, the clinician will apply a small bandage to the IV site, usually using gauze and a Coban wrap. You’ll be given simple aftercare instructions, including keeping the area clean and watching for any unusual symptoms.
How Long Does IV Therapy Take and What Are the Results?
Your first at-home IV therapy session can last between 30 and 60 minutes, depending on your needs and the infusion chosen. After the infusion is complete and the IV has been removed, you will likely notice some immediate effects, like a boost in energy and better hydration. You can typically continue on about your day without any restrictions.
Immediate Effects
Most people feel more hydrated and energized right after the session. The effects are usually felt almost immediately, especially if you were dehydrated,r needed a nutrient boost, or were feeling ill
Long-Term Results
Visible changes, especially for skin health, may take hours to show. IV therapy for glowing skin or anti-aging benefits is only one step in the process of improving your overall health and wellness. Multiple sessions are sometimes needed to achieve desired and lasting results.
What to Expect After the Treatment
Once your IV infusion is completed, the clinician will remove the IV line and apply a pressure bandage. Most clients are encouraged to continue drinking water and rest for a few minutes to help the body process and absorb the nutrients.
Post-Treatment Care
After removal, you’ll be given simple aftercare instructions of when to remove the pressure bandage and what to do to ensure the IV site heals properly. Staying hydrated and following these tips ensures the treatment’s benefits continue.
Managing Expectations
IV therapy for illness can provide a healing effect, IV’s for beauty provide an interim boost, and are meant to work in conjunction with a healthy lifestyle, not instead of. To maintain benefits, it’s essential to combine treatments with consistent hydration, skincare, and a healthy lifestyle.
What Are the Benefits of IV Therapy at Home?
Many people seek IV therapy for general health and wellness because of its ability to provide immediate benefits. Here are some of the key advantages:
Rapid Hydration: If you're feeling sluggish or dehydrated, the fluids in an IV drip at home are absorbed quickly, helping you feel more energized and refreshed.
Nutrient Support: With ingredients like vitamin C, glutathione, and B vitamins, IV drips provide essential nutrients directly into your bloodstream, allowing for 100% bioavailability supporting overall health and skin vitality.
Customizable Treatments: Whether you're looking for a beauty IV drip to enhance your glow or a IV hydration therapy at home to recover from illness or physical activity, these treatments can be tailored to meet your specific needs.
How to Prepare for Your First At-Home IV Drip Appointment
To ensure the best experience during your IV therapy at home appointment, consider the following preparation tips:
Stay hydrated: Drink a glass of water before the session to help your veins be more accessible.
Eat a light meal: Having a light meal beforehand helps prevent lightheadedness.
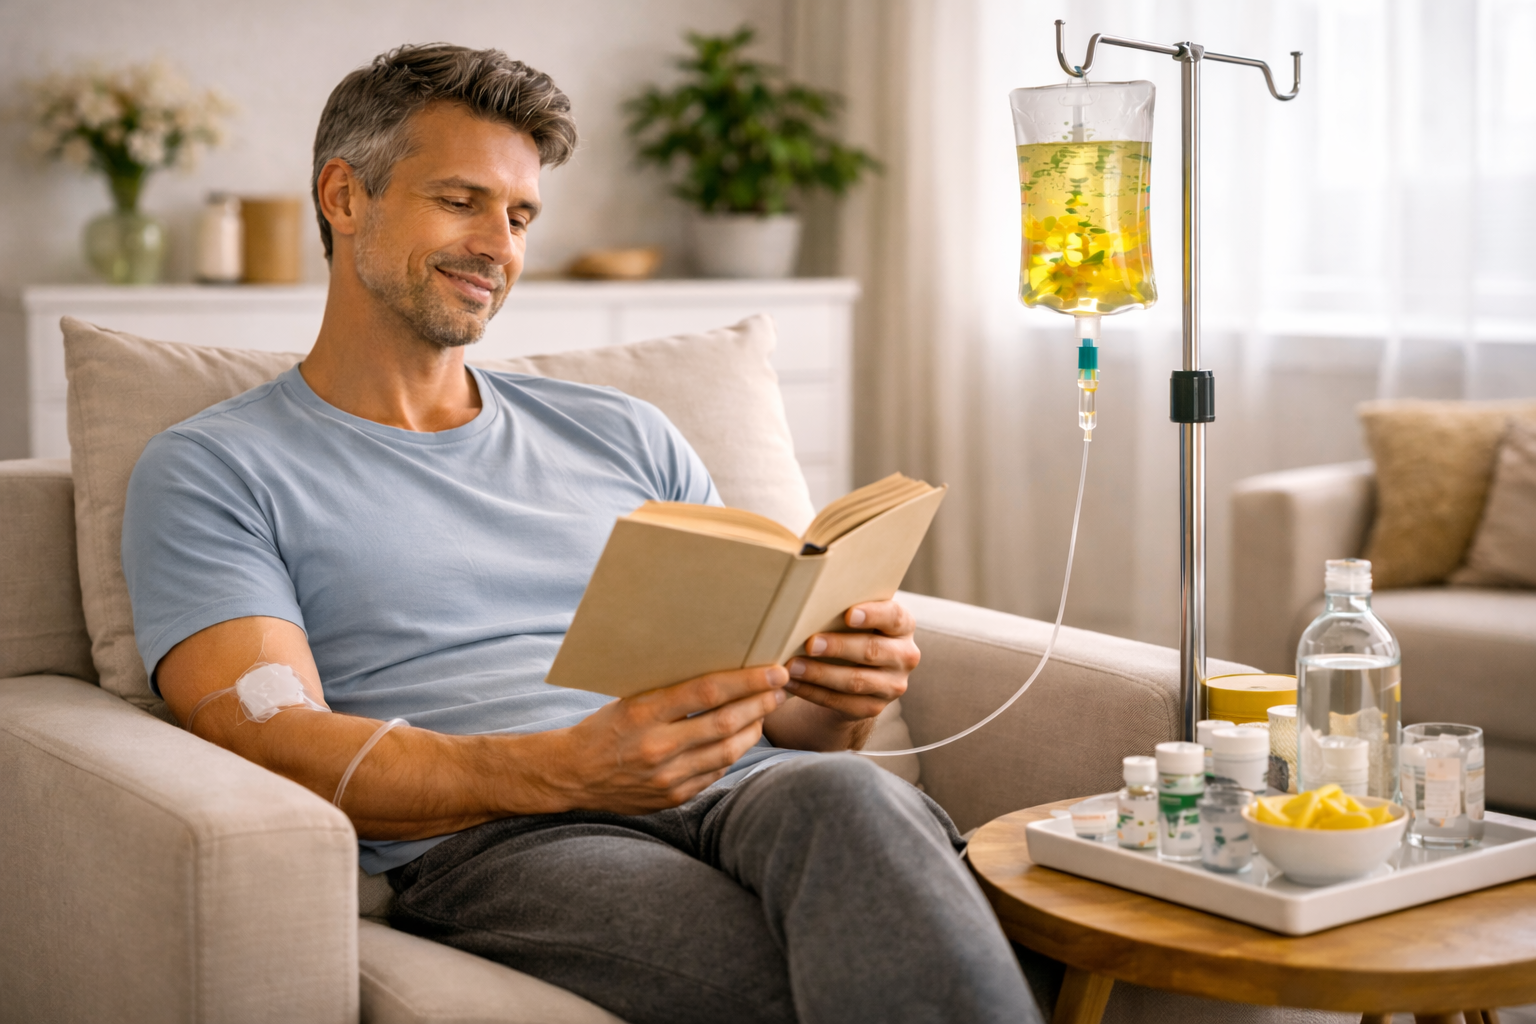
Choose a comfortable spot: A comfortable chair or sofa will make the session more enjoyable, as you’ll be sitting or lying down for up to an hour.
Relax: Bring a book, enjoy some music, or simply rest during your infusion.
Final Thoughts
If you're seeking a quick boost in hydration, energy, or skin health, IV therapy can be a convenient and effective treatment. Whether you're looking for IV hydration therapy at home to improve skin appearance, boost energy, or recover after a workout, at‑home sessions offer flexibility and comfort without the need to leave your house.
At Revive Wellness and Recovery, we’re committed to helping you feel your best through personalized IV drip therapy at home. With the right professional care and realistic expectations, at‑home IV therapy can be a valuable addition to your wellness routine.
Ready to experience the benefits of IV therapy for general wellness? Book your appointment today and see what IV drips can do for you!
FAQs
-
To prepare for IV hydration therapy at home, drink water before your appointment to help with vein accessibility. Wear comfortable clothing, preferably with sleeves that can be easily rolled up, as the IV will be inserted into your arm. Avoid heavy meals right before your session. Plan a spot free from clutter where you can be at your most comfortable.
-
In-home infusion mobile IV therapy is a service that delivers IV treatments directly to you, in your home. It involves administering fluids, vitamins, minerals, and sometimes medications through an intravenous line to support hydration, energy, and wellness. These treatments are provided by licensed healthcare professionals such as registered nurses.
-
A medical consultation or intake form is typically required when booking IV therapy at home. Before the appointment, an initial medical questionnaire will be required to be filled out. At the appointment, there will be an additional consultation to discuss your health history, current symptoms, and treatment goals, ensuring the therapy chosen is appropriate for you. This helps customize the treatment and ensures safety.
-
During an IV drip at home, the equipment used includes an IV catheter, sterile tubing, an IV bag with fluids and nutrients, a portable IV pole as well as additional supplies needed for IV insertion and removal.. The majority of supplies used are designed for single-use, are disposable, and meet medical standards for hygiene and safety.
-
The vitamins used in IV therapy at home are FDA-regulated for use in general medical applications, such as hydration and nutrient support. These supplements are manufactured in what's known as a 503-A or 503-B compounding pharmacy. They are guided by rules relating to sterility and purity and regulated by the FDA, and must adhere to strict regulations when compounding supplements. Always ensure that the therapy is administered by a licensed professional to ensure safety and proper use of ingredients.
Written by Christy Greene